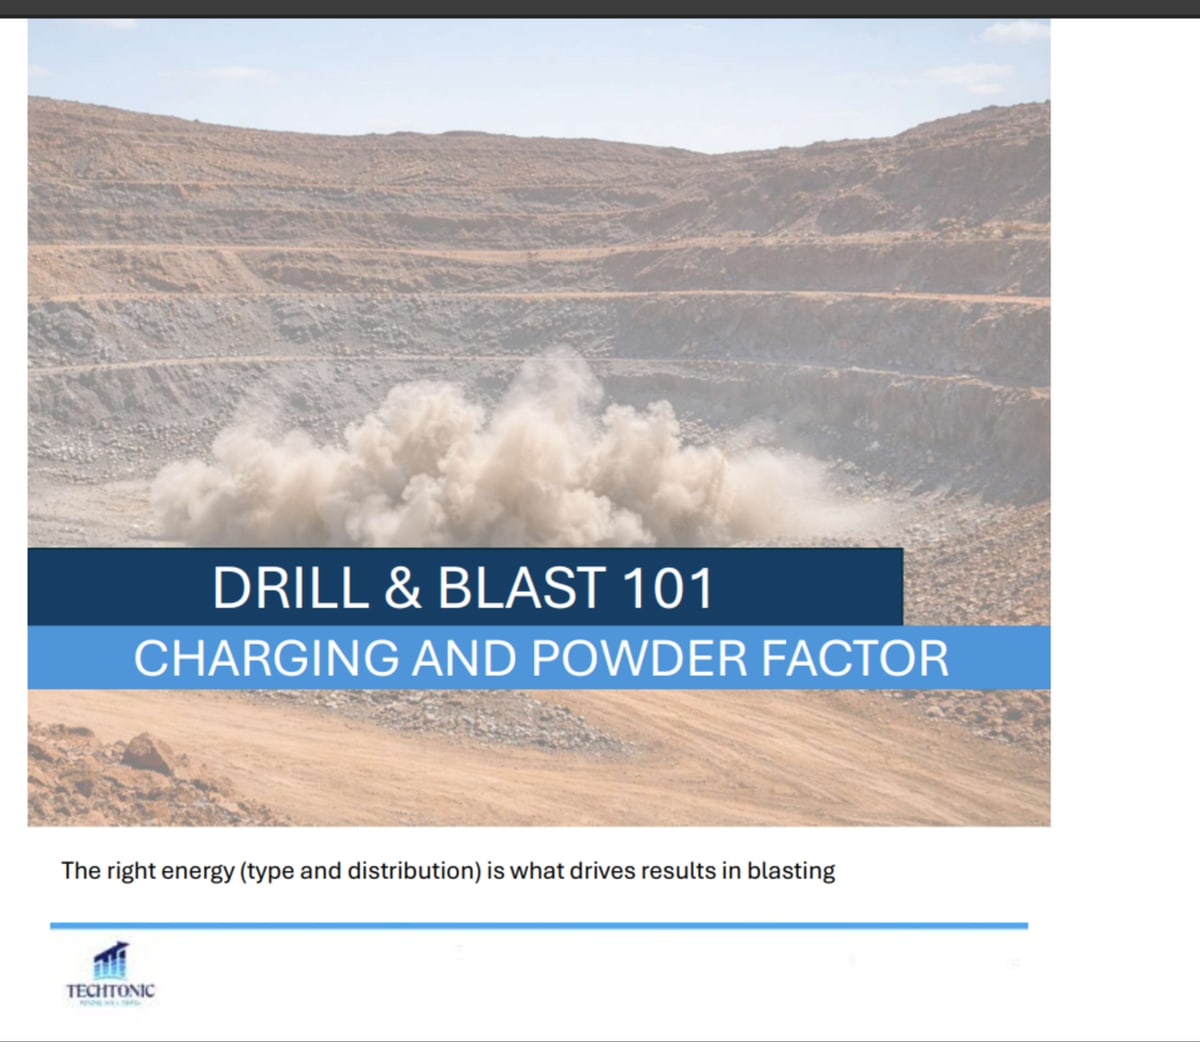

A drill pattern design is only half the job. Geometry decides where the energy goes. Charging decides how much energy is applied and how it behaves once it gets there. This is the step where blast performance and cost are actually controlled.
Too much energy gives you overbreak, fines and flyrock. Too little gives you toe, oversize and redrilling. Neither is a geometry problem.
How rock actually breaks
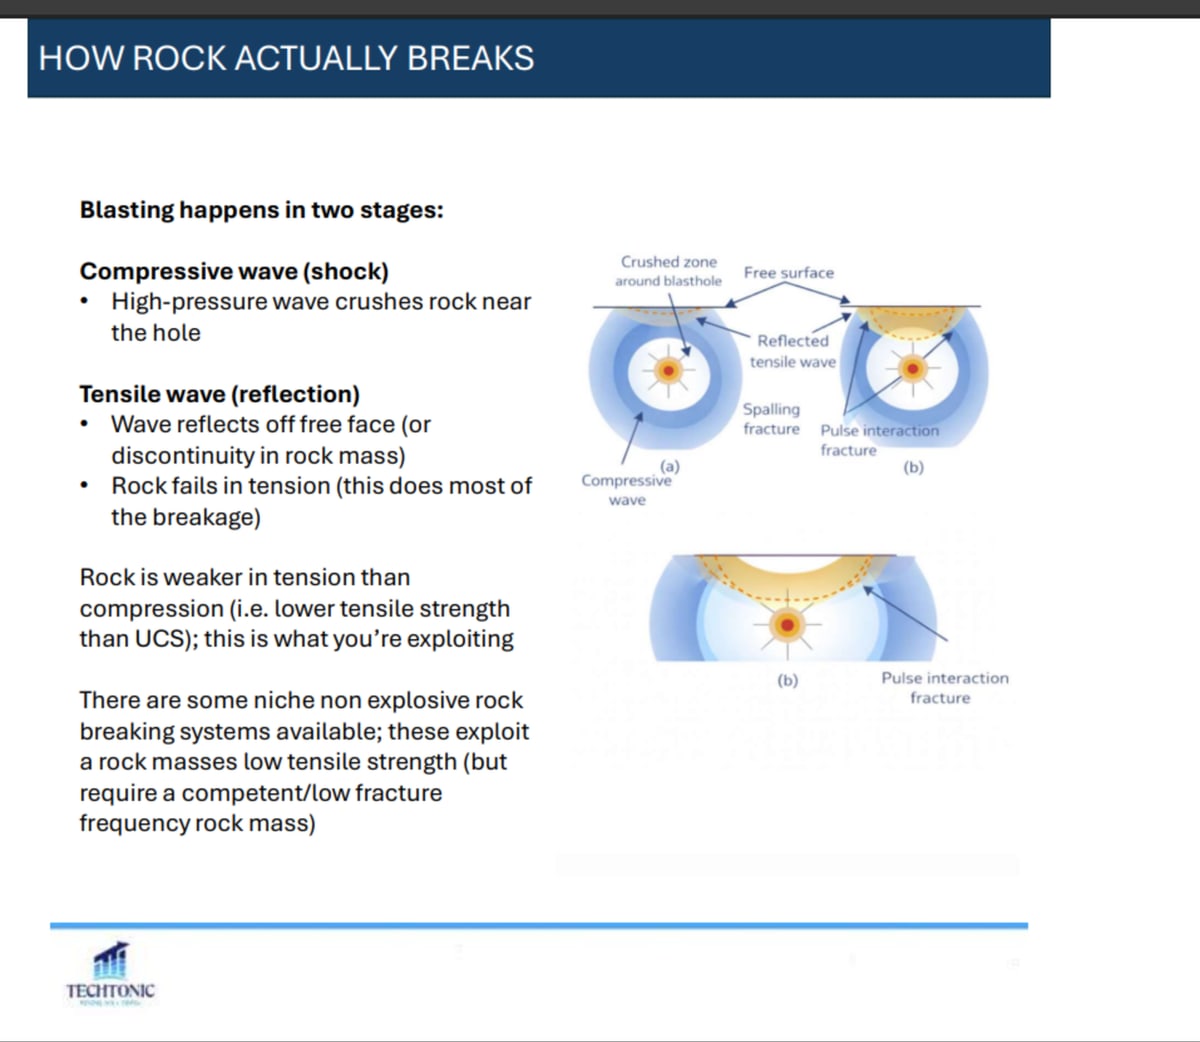
Blasting happens in two stages. First a compressive shock wave crushes the rock near the hole. Then that wave reflects off a free face, or off a discontinuity in the rock mass, and returns as a tensile wave.
The tensile stage does most of the breakage, because rock is far weaker in tension than in compression — its tensile strength is well below its unconfined compressive strength. That weakness is the thing you are exploiting. It is also the principle behind the niche non-explosive rock breaking systems, though those need a competent rock mass with low fracture frequency to work.
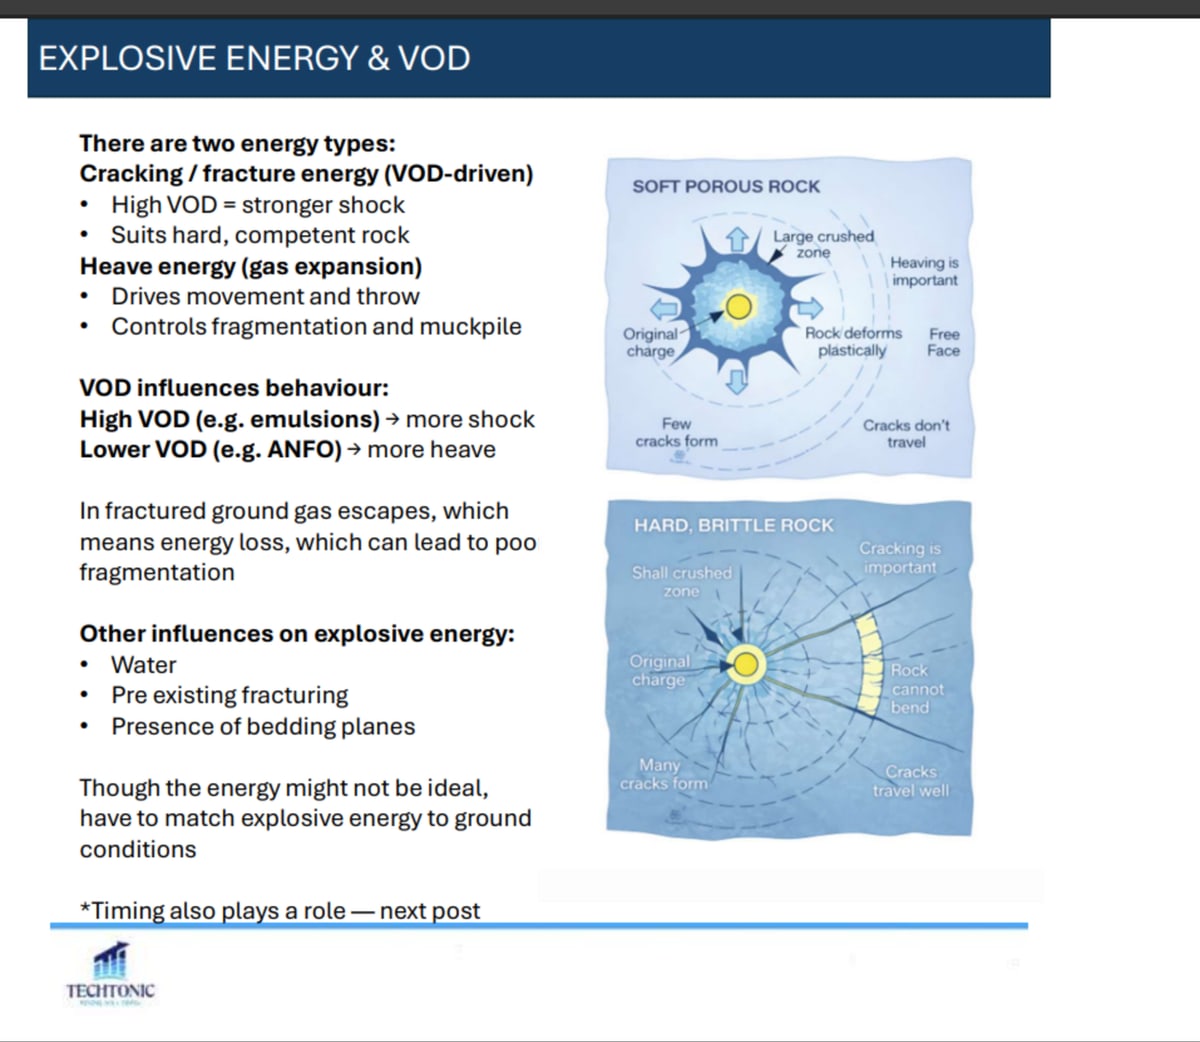
Two kinds of energy
Cracking or fracture energy is driven by velocity of detonation. A high VOD means a stronger shock, which suits hard, competent rock.
Heave energy comes from gas expansion. It drives movement and throw, and it is what shapes fragmentation and the muckpile.
Product choice shifts the balance. High-VOD products such as emulsions deliver more shock; lower-VOD products such as ANFO deliver more heave. In fractured ground the gas escapes before it can do its work, so energy is lost and fragmentation suffers. Water, pre-existing fracturing and bedding planes all pull in the same direction.
The energy available is rarely the energy you would design for in the abstract. It has to be matched to the ground you actually have.
Powder factor
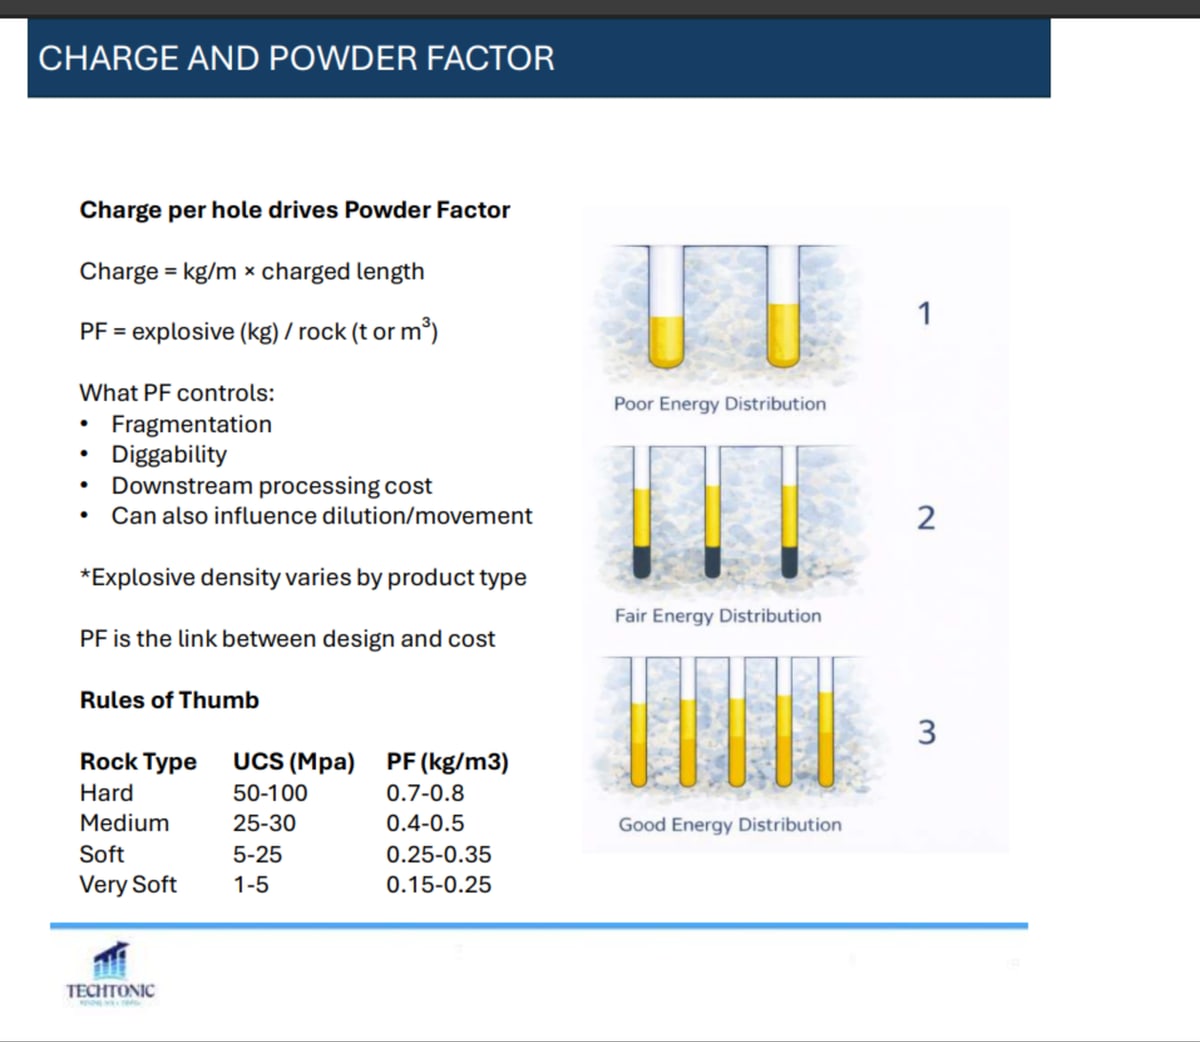
Charge per hole is what drives powder factor. Charge is kilograms per metre multiplied by charged length; powder factor is explosive mass over rock mass or volume. Note that explosive density varies by product, so the same charged length is not the same charge.
Powder factor controls fragmentation, diggability and downstream processing cost, and it influences dilution and movement as well. It is the link between what you designed and what it costs.
As a starting point:
| Rock type | UCS (MPa) | Powder factor (kg/m³) |
|---|---|---|
| Hard | 50–100 | 0.7–0.8 |
| Medium | 25–30 | 0.4–0.5 |
| Soft | 5–25 | 0.25–0.35 |
| Very soft | 1–5 | 0.15–0.25 |
Stemming
Stemming confines the gases in the hole so the energy transfers into rock rather than out of the collar. It is also the primary control for flyrock. The rule of thumb is around 20 times hole diameter, or 0.7 to 1.2 times burden.
Too little and you lose confinement: holes can rifle, flyrock risk climbs, and you get toe and poor fragmentation anyway. Too much and you lose heave and movement, with poor breakage at the top of the bench and more oversize.
It gets awkward when the material in the stemming zone differs from the bench — soft over hard, or the reverse — and on short holes, where the standard rules of thumb stop applying cleanly. The stemming material matters too. It needs to lock, and drill cuttings are not ideal.
The balance
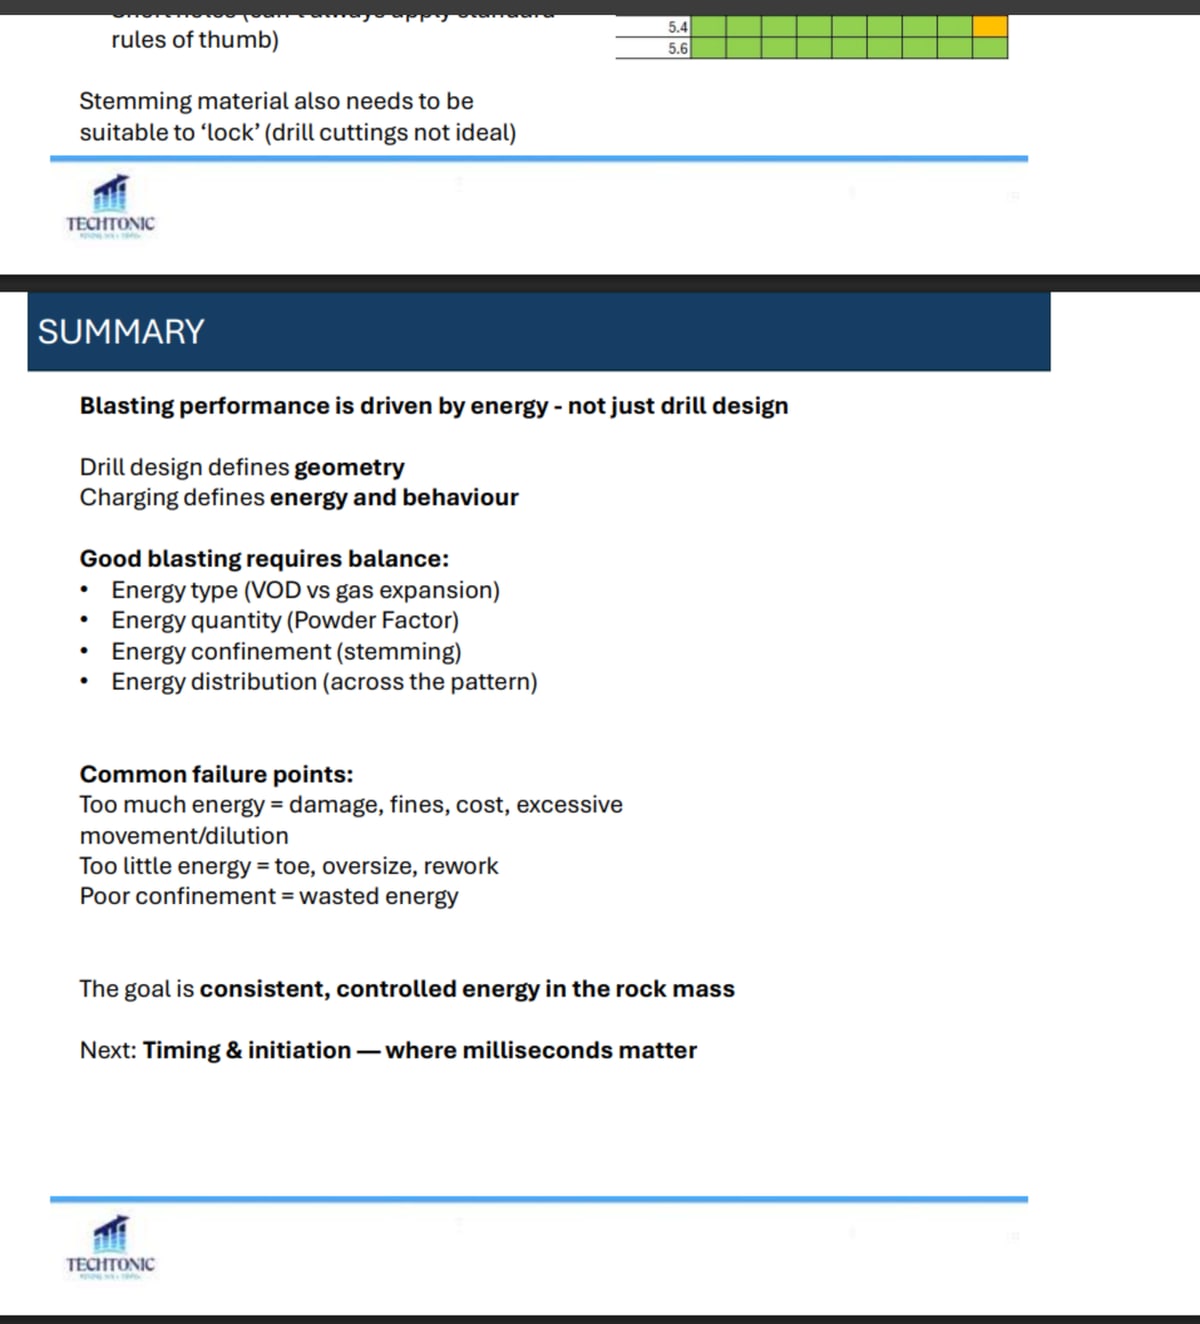
Blasting performance is driven by energy, not just drill design. Drill design defines the geometry; charging defines the energy and how it behaves. Good blasting balances four things: energy type, energy quantity, energy confinement and energy distribution across the pattern.
The failure points are predictable. Too much energy means damage, fines, cost and excessive movement or dilution. Too little means toe, oversize and rework. Poor confinement means the energy simply leaves.
What you are aiming for is consistent, controlled energy in the rock mass. How often do you reconcile your actual powder factor against what the design assumed?
The carousel
This piece began as a LinkedIn carousel. The full deck is below — use the arrows, or click any slide to enlarge.